Github Actions Repository Dispatch Event
I use a plugin in Gatsby to pull in data from Airtable and publish my (cooking food) recipes to my website. I think it is a great thing to share in the common thing we all do (eat). I recently switched my website building process over to Github Actions. While, I enjoy using it, I lost the ability to trigger a build via an Airtable action. Enter the repository dispatch event for GitHub Actions.
Github Actions has a trigger which is started by an API call referred to as a repository dispatch event. When this url is accessed with the proper protocol authorization, it will trigger a build. Perfect! Airtable does not have a native integration which can post data to a url after specific events. That is typically referred to as a webhook. Zapier.com does however have an integration with Airtable which we can use.
Airtable Views
Airtable has the concept of a view. Each base has one or many tabs or sheets. Each one of those sheets can contain data. The data has a view attached to it. When you first create a sheet, it comes in with a default view. The default shows you all of the data and a typical layout. A view can have a different type of layout attached to it and/or it can filter, sort, or group based on the data.
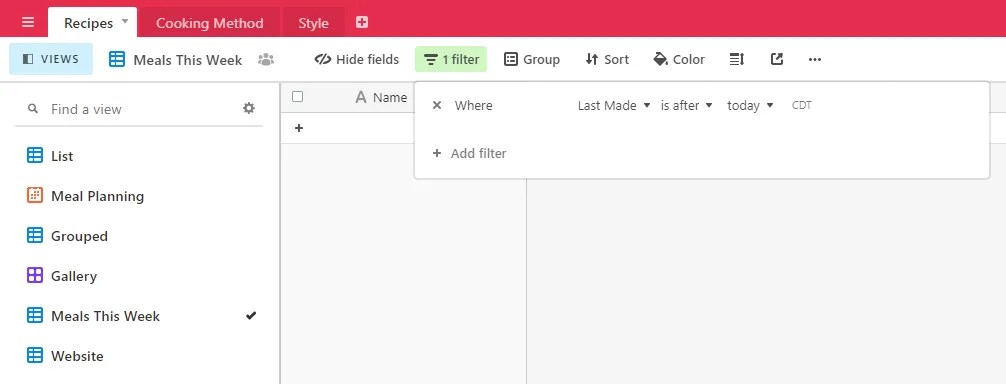
Airtable doesn’t have any ability to post web hooks, but it does have an integration with a service called Zapier. This service allows us to trigger an action when a new record shows up in an Airtable view. So we need to create a view which will update over time, in response to both new records and modifications of existing records. I decided on my website to sort all of the recipes by the last time that I made them. This gives that page a bit of dynamicism and a peak into what we have been enjoying lately.
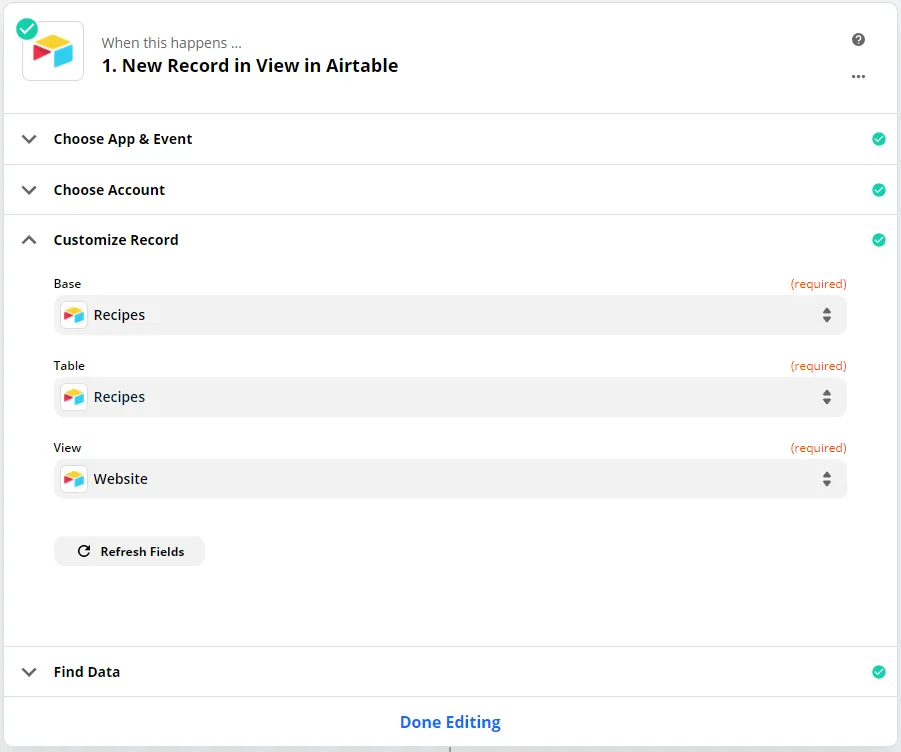
I created a view using this date field. The date is something that gets updated every time we make that recipe again. I then created a new view that has a filter which shows only the recipes with a date in the last week. Now as we make an update to our recipes, they will begin to show up in this view. When they show up, it will trigger our workflow in Zapier. From this trigger, we can execute an action that updates our website.
POSTing Data
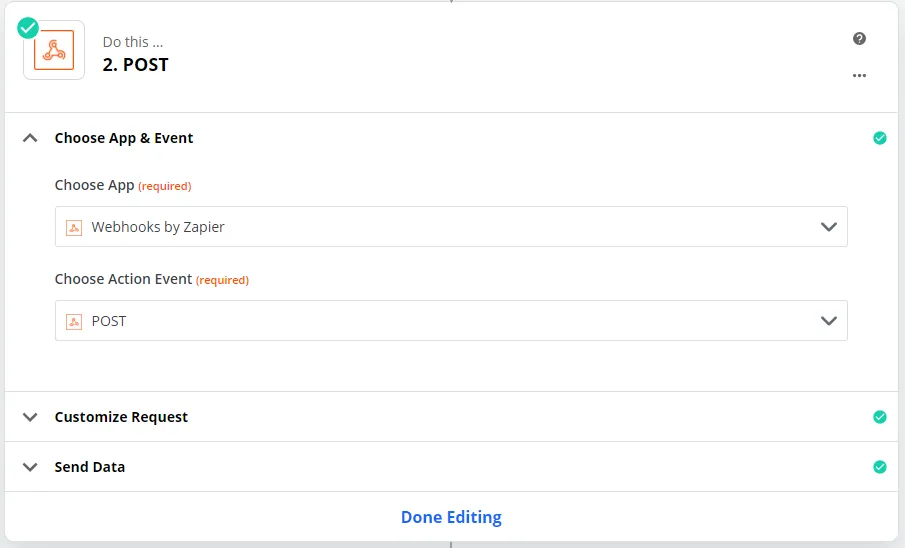
Next we need to set up the repository dispatch workflow. It has a few potential gotchas that are worth noting. The workflow will run on the default branch, so the workflow file that is on the default branch is the one we need to worry about. It requires a few pieces of data that you need to send along in the post message. Some of these are sensitive as well so this event that is being sent cannot really live in in open source type of code. This information will be held in Zapier behind a login. The event can listen for a specific text string of your choosing which lets you set up multiple dispatch events.
name: production build from dispatch

on:
  repository_dispatch:
    types: [rebuild-website-from-airtable-hook]

jobs:
  dispatched-build:
    runs-on: ubuntu-latest
    steps:
      - uses: actions/checkout@v2
      - uses: actions/setup-node@v1
        with:
          node-version: 12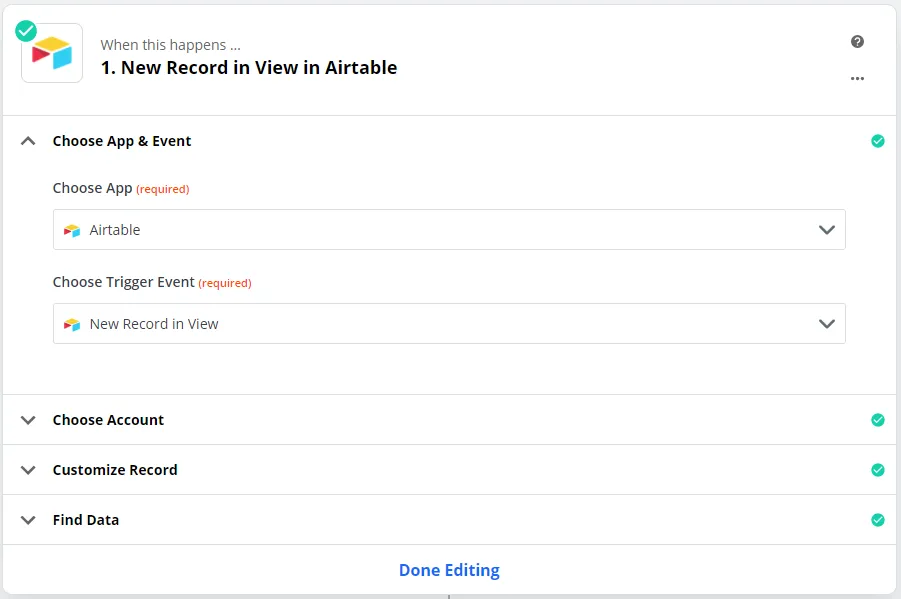
When this is properly configured, posting to this endpoint will kick off a workflow. The only real way to see this workflow running is in the actions tab. The other types of GitHub Action events have multiple ways to reach them, such as through a PR or a commit.
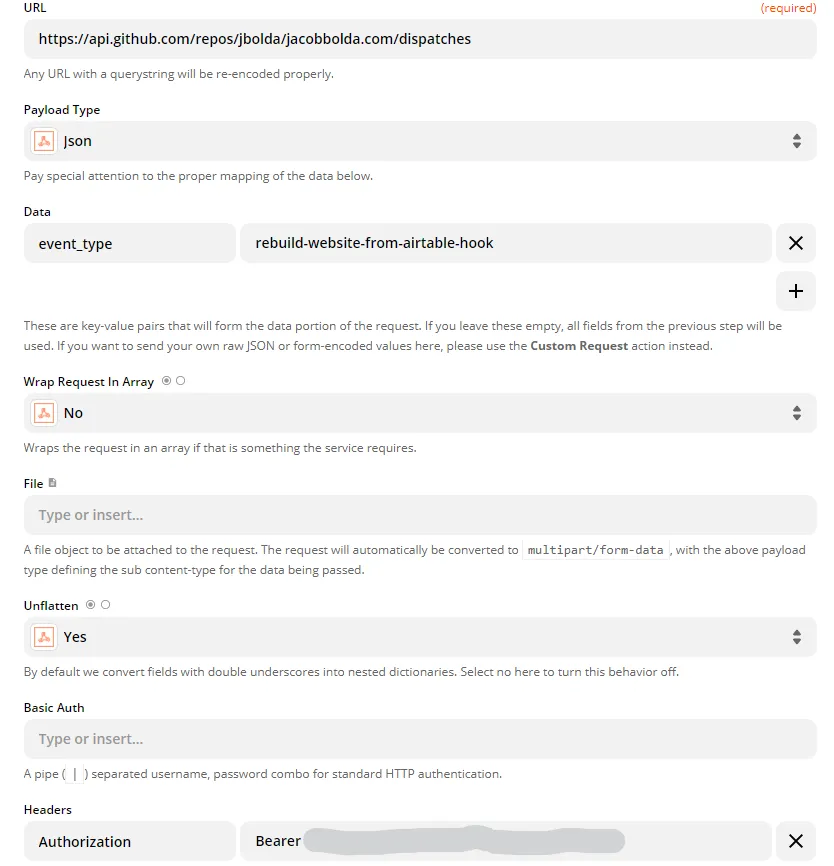
Deploying the Site
For this specific example, I am deploying my site on Netlify. The Netlify CLI was added to the runner. This means we don’t need to install it and it will save us some time on the build. Depending on your site content or configuration, you need to install your dependencies, build your site and then you can use netlify to deploy it.
- run: yarn
- name: build
  env:
    GATSBY_EXPERIMENTAL_PAGE_BUILD_ON_DATA_CHANGES: true
    AIRTABLE_API_KEY: ${{ secrets.AIRTABLE_API_KEY }}
  run: yarn build --log-pages
- name: deploy
  if: success()
  env:
    NETLIFY_SITE_ID: ${{ secrets.NETLIFY_SITE_ID }}
    NETLIFY_AUTH_TOKEN: ${{ secrets.NETLIFY_AUTH_TOKEN }}
  run: npx netlify-cli deploy --dir=public --prod --message "${{ github.event.head_commit.message }}"